

Profile
The profile bundles the personal settings of your own user account: connecting your own accounts at external services and controlling email notifications. All settings apply exclusively to your own account – other users remain unaffected. Company-wide settings, by contrast, are managed in the “Settings” area (see Settings).
When Do I Need the Profile?
- Connecting your own Microsoft account for emails and appointments, so that an agent works under your own identity in the chat – e.g. reads emails in your own mailbox or creates appointments in your own calendar
- Turning on email notifications so that newly assigned to-dos and information items are not missed
- Renewing expired connections to external services
Opening the Profile
At the bottom edge of the navigation, the user menu appears after a click on the circle with your own initials. Via “Profile” in the user menu, the profile page opens.
Note
The profile is only available in the desktop view. In the mobile view, the entry is missing from the user menu.
Managing Personal Connections
Agents access external services via capabilities – e.g. emails or appointments at Microsoft. How the login works is defined by the administration when setting up the capability (see Agent Components):
- “Shared account”: One login is stored that all users of the agent use together.
- “Personal account”: Every user connects their own account via the profile. The agent then works exclusively with this connection in the chat – it acts under the identity of the respective user.
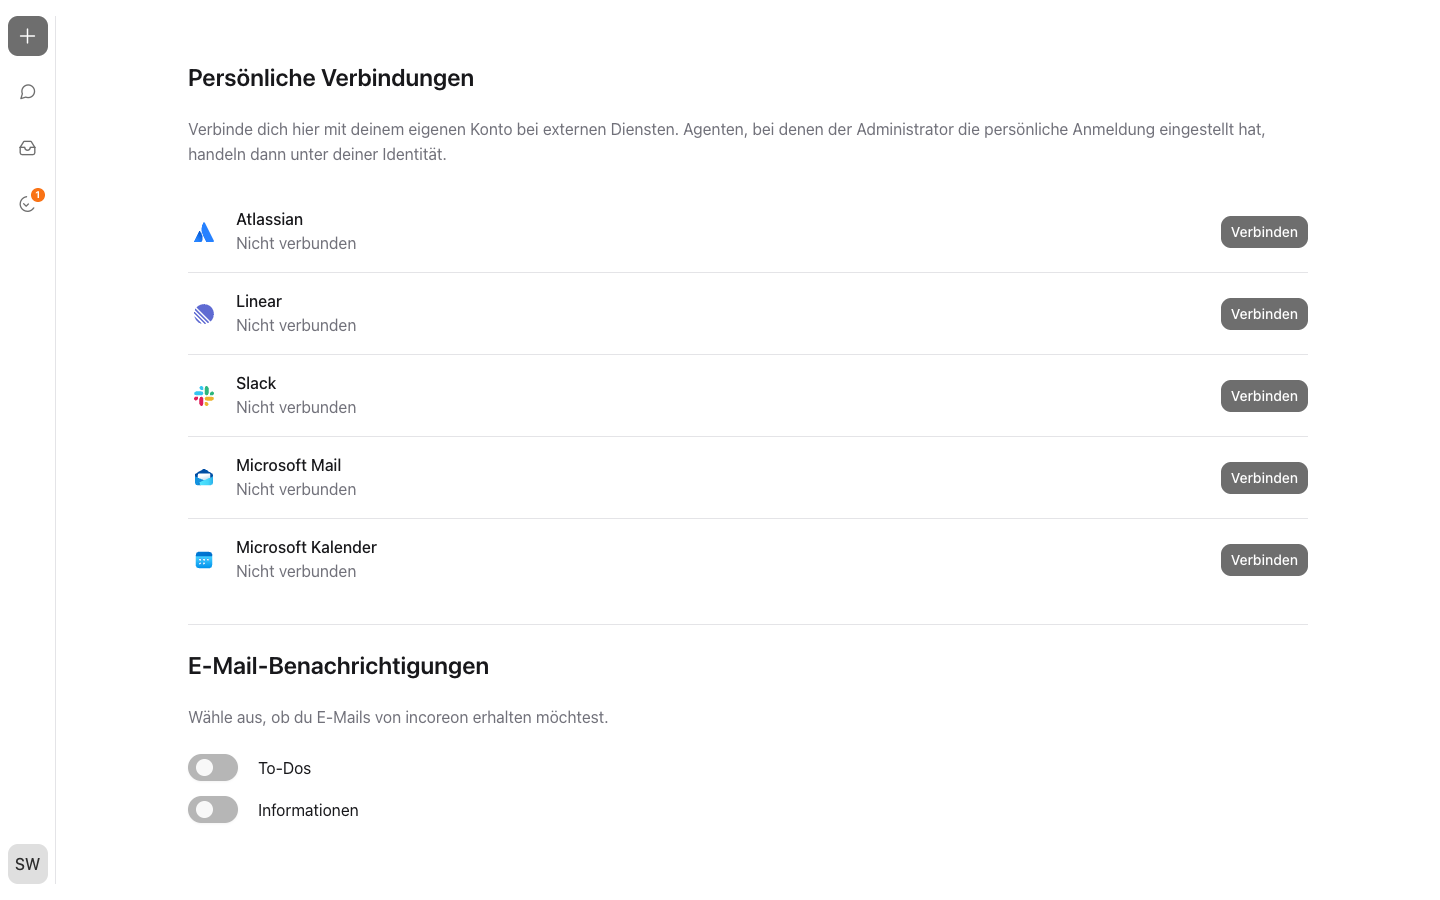
In the “Personal connections” area, the profile lists all services for which a personal login can be set up:
- firmly integrated services – e.g. Microsoft Mail and Microsoft Calendar
- custom capabilities of agents that are set to “Personal account” (see Agent Components)
Each entry shows the name of the service and the status “Connected” or “Not connected”. If there are several entries with the same name, an additional line shows the agent to which the entry belongs. If no service is available, the note “No connectable services available” appears.
Connecting a Service
Via “Connect”, the login window of the service opens. Log in there with your own account and confirm the access. The entry then shows “Connected”, and the agent can use the service under your own identity.
Disconnecting a Connection
Via “Disconnect”, the personal login is removed. The entry then shows “Not connected”.
Warning
After disconnecting, the agent can no longer use the service under your own identity until the connection is established again.
Renewing a Connection
When a login to a service becomes due – for example because it has expired – the chat shows the “Connect now” button (see Chat). The connection can be renewed directly in the ongoing conversation. In addition, incoreon automatically creates an important to-do (see To-Dos). The connection can also be restored in the profile via “Connect”.
Setting Up Email Notifications
The profile sends an email notification when a to-do or an information item is newly assigned. Both notifications can be turned on and off separately:
- “To-Dos”: email for every newly assigned to-do
- “Information”: email for every newly assigned information item
Every change is saved immediately. The same settings can also be changed directly in the overviews – via  in the to-do overview and in the information overview (see To-Dos and Information).
Warning
Emails are only sent if the respective notification is activated. The email only contains the title and a note – the full content stays in incoreon.
Profile FAQs
Why does a service appear more than once?
The same service can be set up by several agents with different logins. Each login applies to exactly one entry; the additional line with the agent name shows to which agent the entry belongs.
Why don't I receive any emails?
The most common cause is a deactivated notification. It can be turned on in the profile under “Email notifications” or via  in the respective overview.